
A rear door opens after a home has been armed for the night. The door contact detects the change, but it does not decide what the whole alarm system should do. The keypad did not make that decision either, and the siren is only one possible result.
The alarm control panel—often implemented as a Hub—is the part that brings those separate devices into one system. It receives the event, checks the current arming and zone settings, and starts the actions configured for that situation.
For an installer, this is the useful way to think about a control panel:
Detectors provide events. Users provide commands. The control panel applies the system rules and coordinates what happens next.
Once those responsibilities are clear, it becomes much easier to design, test and troubleshoot the system.
A control panel is a role, not just a box with buttons
Some alarm systems use a separate Hub and keypad. Others combine more functions in one enclosure. A screen on the wall may be a user interface, but its appearance does not tell you where the main control decision is made.
The important question is: which device receives the detector events, holds the system state and coordinates the configured response? That is the control-panel role.
In a wireless alarm project, the basic path is:
Detector or manual control → Hub/control panel → local alarm, App visibility and/or external reporting
The exact outputs depend on the project. The control panel’s job is to keep those devices and actions working from the same system configuration.
Which part of the alarm system does what?
The easiest way to avoid confusion is to give each component one clear responsibility.
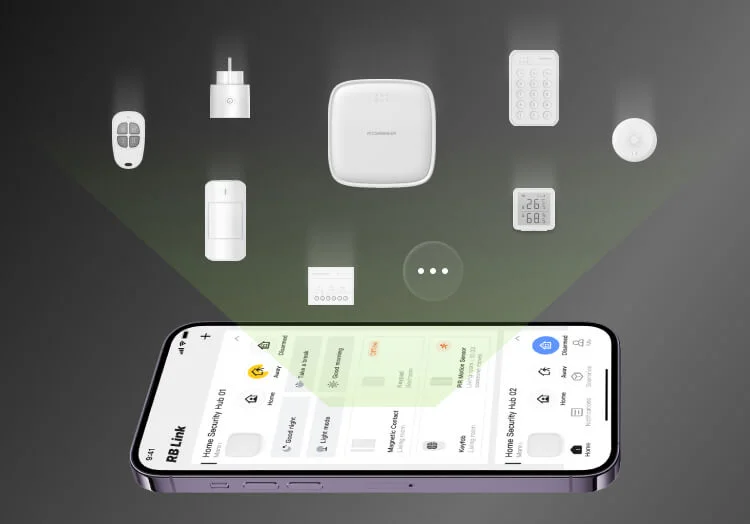
| Component | Main job | What it does not replace |
|---|---|---|
| Door contact, PIR or other detector | Detect a change or event at its protected point | The control decision for the whole system |
| Keypad or keyfob | Let an authorised user send a supported command, such as arm or disarm | The Hub that applies the command to the system |
| Hub/control panel | Receive events and commands, apply the current zone and arming logic, and coordinate configured actions | The detector, local warning device or monitoring service |
| Siren | Warn people at or near the premises when activated | App communication or ARC receipt |
| RB Link App | Provide the relevant configuration and user visibility | The Hub’s local control role |
| Alarm Receiving Centre (ARC) | Receive selected reports and act under the agreed monitoring service | Local detection or local alarm operation |

This separation is not just terminology. It tells the installer where to look when a test does not produce the expected result.
Follow one event through the system
Consider the rear utility door in a two-storey home.
- The door contact changes state when the door opens.
- The Hub receives the event and identifies the device or zone involved.
- The Hub checks the current arming and zone configuration.
- The Hub starts the local and reporting actions configured for that event.
- The siren, App or ARC path then performs its own part, where that output is included in the project.
The same door opening does not always need the same result. When the ground floor is in normal daytime use, the system is not in the same condition as a fully armed home at night. That is why device placement alone is not the complete alarm design; the Hub must also organise devices into the right zones and apply the intended arming state.
For a detailed comparison of common operating modes, use the Arm Stay versus Arm Away guide.
Local alarm, App visibility and ARC reporting are three different outcomes
These outputs may begin from the same event, but they answer different needs.
- Local alarm warns at the protected premises, normally through a configured siren action.
- App visibility lets an authorised user see relevant system information through the software path.
- ARC reporting sends selected reports to an external receiving service configured for the project.
This difference becomes especially important when the external network is unavailable. In a Roombanker system, the Hub and siren can still carry out the configured local alarm when no external network path is available. RB Link App communication and ARC reporting require an available network path.
So a siren sounding proves that the local action worked. It does not by itself prove that the App received an update or that an ARC received the report. Those paths must be checked separately.
If the project requires professional monitoring, plan and test that path with the receiving side. The ARC integration planning guide explains what the installer and ARC need to confirm together.
When a test fails, start with the missing result
Do not restart the whole installation whenever one output is missing. First identify the last part of the path that is known to have worked.
| What you see | Check first | What the result tells you |
|---|---|---|
| The detector action is not shown at the Hub | Device status, pairing and the intended device/zone | The problem is still on the input side; do not start with the siren or ARC |
| The Hub receives the event, but the expected siren action does not occur | Arming state, zone and configured local action | The detector-to-Hub path worked; focus on the local action and its configuration |
| Local alarm works, but the App shows the Hub and devices offline | Available external network path | Local control is working; remote visibility is a separate network question |
| The App shows the event, but the ARC cannot confirm it | Reporting configuration, account/event mapping and ARC-side receipt | Do not re-pair the detector; the missing result is farther along the reporting path |
| A keypad command is accepted at the keypad but the system state does not change as expected | User permission, selected area/zone and Hub configuration | Separate the user-input device from the control rule applied by the Hub |
This approach saves time because it follows the event path instead of treating every problem as a device failure.
Turn the responsibilities into one control-path check
Before comparing products or handing over the system, write down one important event and follow it through the required result.
| Check | Rear-door example |
|---|---|
| Event | The rear door opens |
| System condition | The ground-floor perimeter is armed |
| Control result | The Hub identifies the correct zone and starts the configured actions |
| Outputs to verify | Local warning, App visibility and ARC receipt—only where each is included in the project |
If one result is missing, return to the troubleshooting table and start from the last confirmed step. If the complete path works, the responsibilities are clear enough to move into product selection and project documentation.
The professional alarm Hub selection guide owns the next decision: which Hub capabilities the project requires. The Roombanker Smart Hub product page then provides current R2 and R2 PRO product information.
A control panel is not simply the device used to arm and disarm an alarm. It is the point where detector events, user commands, zones and required alarm paths become one working system.