
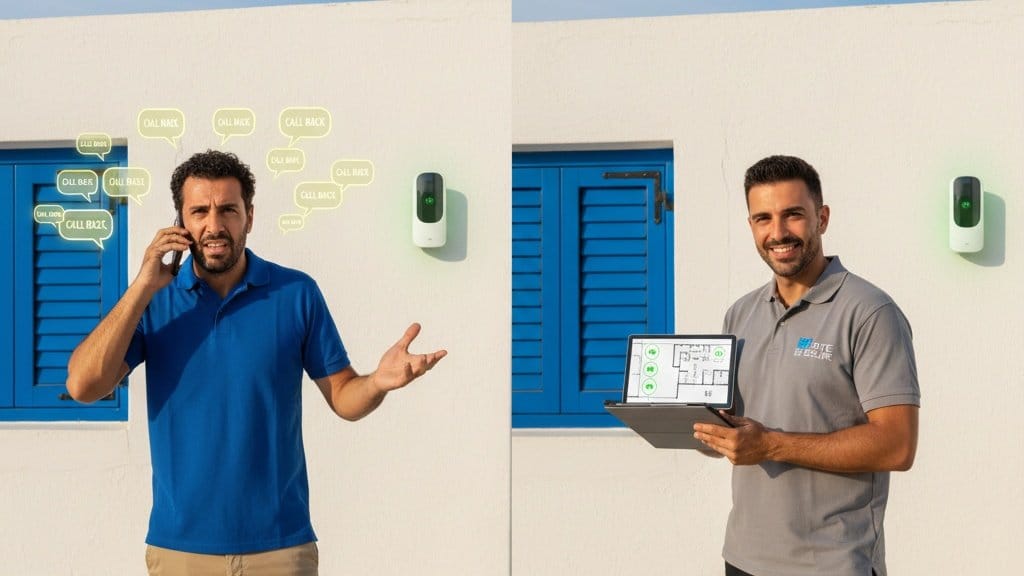
You have mounted the hub, paired all twelve sensors, and tested the system. Everything works. Three days later the customer calls: the living room PIR triggers at 3 PM every afternoon. Two weeks after that, the door sensor on the steel security gate drops offline. You drive back, troubleshoot, and realize — both problems trace to decisions made during installation.
In Mediterranean markets, where buildings mix reinforced concrete, stone masonry, steel security doors, and brick partition walls, wireless signal behavior is less predictable than in timber-frame construction. The same installation habits that work in Northern Europe or North America produce callbacks here.
Based on field experience across Greek islands, Turkish workshops, Romanian warehouses, and Italian villas, these are the four most common wireless alarm installation mistakes — and how to avoid each one.
Mistake 1: Pointing a PIR Motion Sensor Directly at a Window
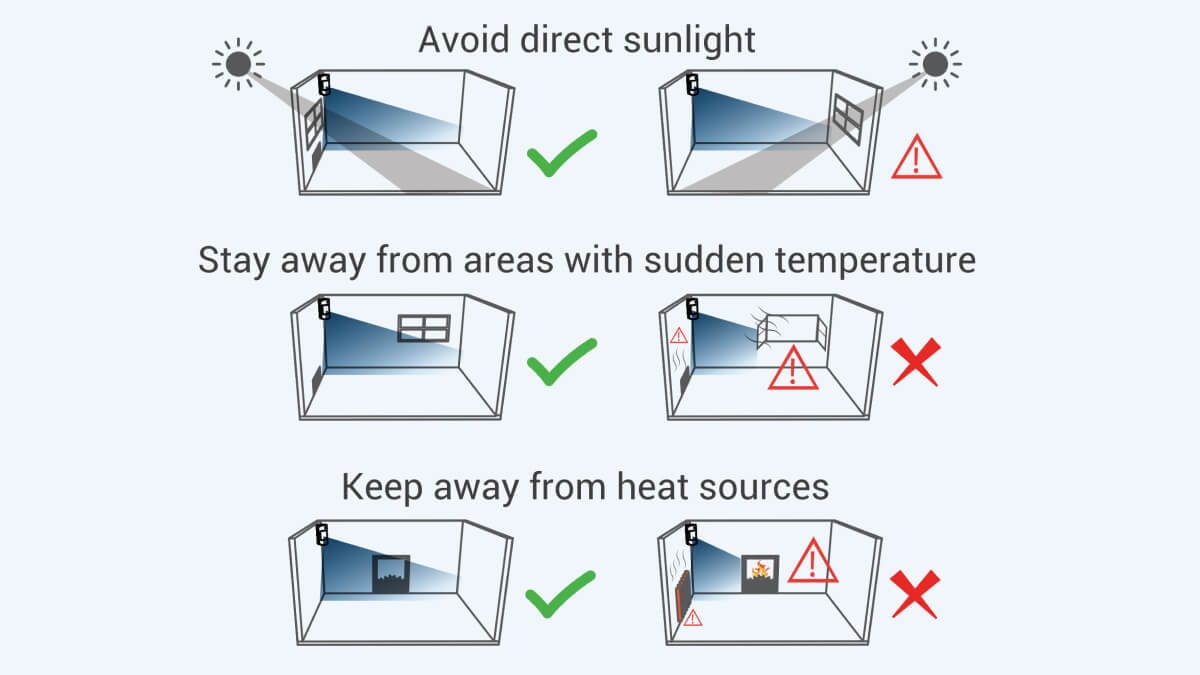
This is the single most common source of afternoon false alarms in Mediterranean climates.
What happens: Sunlight passes through the window and heats the floor surface. The PIR sensor detects the temperature difference between the warm floor and the cooler ambient air as it moves across the detection zone — exactly the same way it detects a person walking. The result is a false alarm, typically between 2 PM and 5 PM when solar gain peaks.
The sensor is working correctly. The placement is wrong.
The fix: Mount PIR sensors so their field of view runs parallel to windows, not toward them. In rooms with large windows — common in Greek and Italian seaside villas — position the sensor on a side wall so it looks across the room rather than at the glazing.
If the room layout forces a view toward a window, use the Roombanker PIR Motion Sensor’s masking feature or pair it with a door/window magnetic sensor on the same zone so both must trigger before alarming.
Also keep PIR sensors away from radiators, air conditioning outlets, and boiler cupboards — any surface that changes temperature rapidly triggers the same problem.
Mistake 2: Placing the Hub Next to a Metal Cabinet or Utility Box
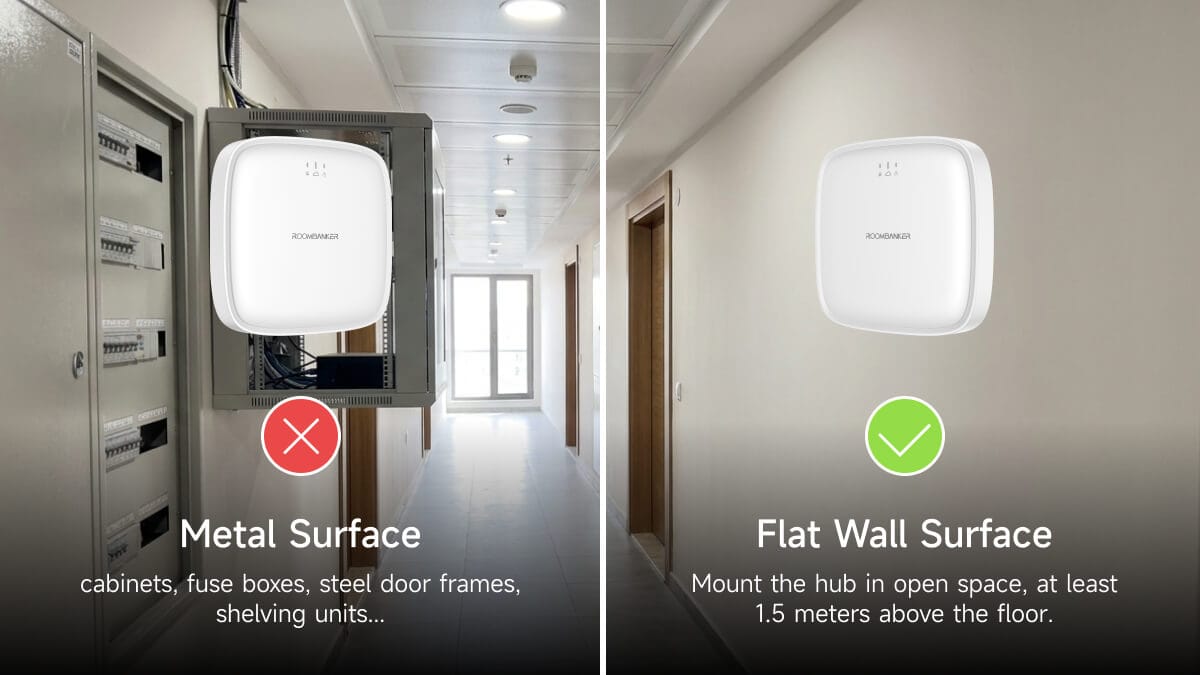
The Roombanker Hub is the backbone of every installation. Where you put it determines whether the install is rock-solid or generates nuisance callouts for years.
What happens: Metal reflects and absorbs RF signals. Placing the hub inside a metal electrical cabinet, behind a steel server rack, or next to a building’s main utility box creates RF shadows. Sensors on the far side of that metal barrier may pair during installation (when the hub is at close range) but drop connection once the system is armed and the installer has left.
In Mediterranean industrial and commercial sites — Turkish workshops with steel shelving, Romanian warehouses with metal workstations, Greek retail shops with steel security shutters — metal obstruction is the norm, not the exception.
The fix:
• Mount the hub in open space, at least 1.5 meters above the floor.
• Keep it at least 50 cm away from any metal surface — cabinets, fuse boxes, steel door frames, shelving units.
• Avoid placing it inside utility rooms that are essentially metal boxes (prefab electrical rooms, shipping containers turned into site offices).
• If the building has a reinforced concrete core with steel rebar, mount the hub high on a non-load-bearing interior wall rather than on an external wall or concrete pillar.
For very large sites, the RBF Protocol’s 3500-meter open-air range means one hub covers most buildings — but only if it can actually talk to all the sensors. Use the Roombanker App’s site survey mode (see mistake 4) to confirm coverage before finalizing hub position.
Mistake 3: Using the Same Sensor Placement for Every Site
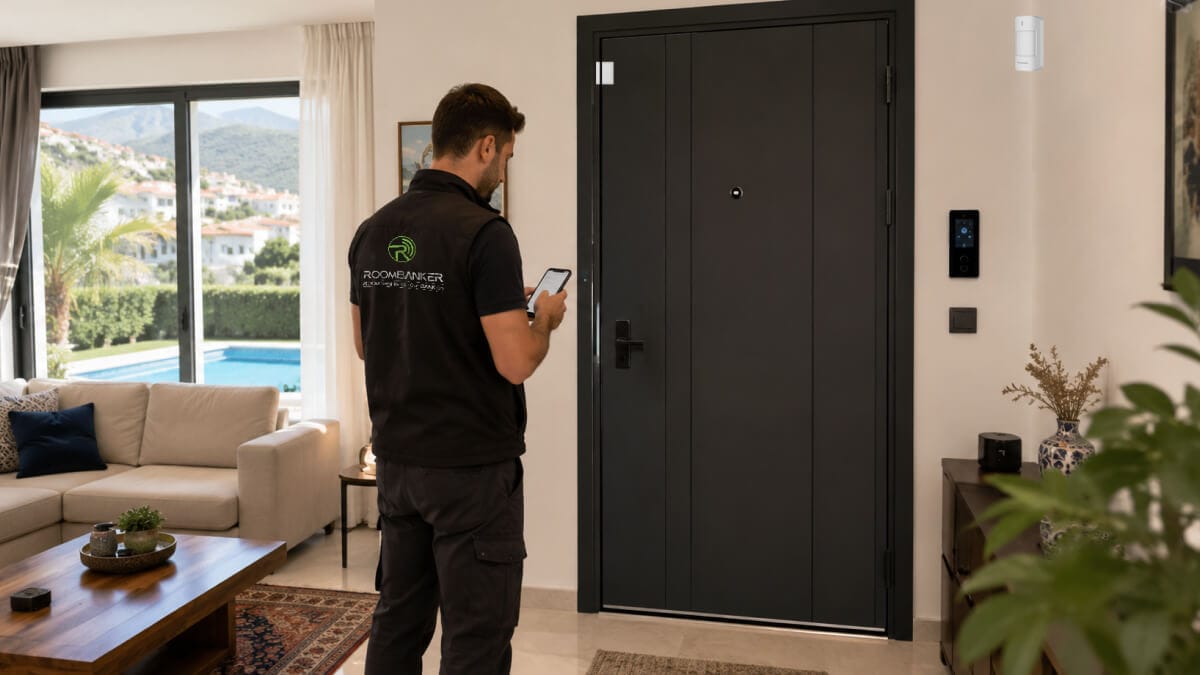
A sensor mounted on a timber partition wall performs differently from the same sensor on a steel door frame or a 40 cm stone wall. Experienced installers know this, but under schedule pressure, it is tempting to default to the same placement pattern for every job.
What happens in Mediterranean buildings:
• Steel doors (Turkey, Greece): Security doors with steel cores are common in retail and ground-floor apartments. A magnetic sensor on a steel door absorbs signal — the metal acts as a shield. Range drops by 50-70 percent compared to the same sensor on a wooden door.
• Stone walls (Greek islands, Italian countryside): Thick stone masonry attenuates RF signals more than drywall or brick. Sensors on opposite sides of a 60 cm stone wall may not reach the hub at all.
• Reinforced concrete (Romania, urban sites everywhere): Rebar inside concrete columns and floors creates a Faraday cage effect. A sensor in a concrete basement may lose contact with a hub on the first floor.
The fix:
Before drilling any holes, use the Roombanker App’s signal strength indicator. Hold the sensor in its planned position while the app displays the RSSI (Received Signal Strength Indicator) from the hub. If the signal is below -80 dBm, choose a different location or add a repeater.
For steel doors, mount the magnetic sensor on the frame rather than the door leaf itself, and pair it with a wireless transmitter positioned on the adjacent wall — not on the metal surface.
For stone walls, consider a surface-mount wireless transmitter that can be positioned at the top of the wall where the stone meets the wooden roof structure (typically less dense and more RF-transparent).
Mistake 4: Skipping the Signal Strength Check Entirely
This is the overarching mistake that amplifies all the others. The installer assumes the system will work because the spec sheet says 3500 meters in open air.
What happens: Indoor range is not 3500 meters. That figure is line-of-sight in open field conditions. Inside a building with concrete, steel, and stone, real-world range depends on construction materials, floor plan, and RF interference from WiFi networks, cellular boosters, and other wireless equipment.
The Roombanker Hub and RBF Protocol deliver strong indoor performance — but only when sensors are placed where the signal can actually reach.
The fix:
Every Roombanker installation should begin with a site survey using the RB Link app. Here is the workflow:
1. Power up the hub in its planned location (before permanent mounting).
2. Walk the site with a sensor in hand, stopping at each planned device position.
3. In the app, check the RSSI reading. Green (-30 to -70 dBm) means proceed with mounting. Yellow (-70 to -85 dBm) means the sensor will work but may have occasional dropouts — consider alternatives. Red (below -85 dBm) means find another position or add a hub/repeater.
4. Document the signal levels in the installation file. If the customer reports issues later, you have a baseline to compare against.
This adds 15 minutes to the first visit and saves hours of callback time.
FAQ
How far can the RBF Protocol transmit through concrete walls?
In internal testing across 50 residential and commercial sites in Southern Europe, the RBF Protocol maintained reliable two-way communication through two standard concrete walls (20-25 cm each) at up to 25 meters. Through a single reinforced concrete wall with rebar, usable range drops to approximately 15 meters. Always verify with an on-site signal test — wall composition varies significantly between buildings.
Can I use one Roombanker Hub for a multi-story Mediterranean villa?
Yes, in most cases. Mount the hub on the middle floor (first floor in a three-story building), positioned centrally and at least 1.5 meters high. Conduct signal tests on the top and bottom floors before committing. If the villa has a reinforced concrete core or thick stone external walls, a single repeater on the problem floor typically resolves any dead zones.
What RSSI level should I consider unacceptable for a wireless alarm sensor?
Anything below -85 dBm is unreliable for alarm communication. At this level, packet loss increases, supervision check-ins may fail, and the monitoring center (ARC) could receive spurious loss-of-signal events. Aim for -70 dBm or better for all critical sensors (PIRs, door contacts on main entry points).
Do metal security shutters affect wireless sensor signals?
Yes, significantly. Roll-down metal shutters common across Mediterranean retail create a nearly continuous metal barrier when lowered. Mount sensors on the interior wall adjacent to the shutter mechanism rather than on the shutter track itself. If the sensor must be shutter-mounted (required by local insurance rules), use a wireless transmitter positioned on the interior wall and connect the sensor to it via a short cable.
For a broader overview of how wireless alarm technology works and what to consider before specifying a system, see our complete technical guide: What Is a Wireless Security Alarm System?. For help choosing the right equipment for each site type, read How to Choose a Security Alarm System: 8 Factors for Installers and Distributors.
Summary
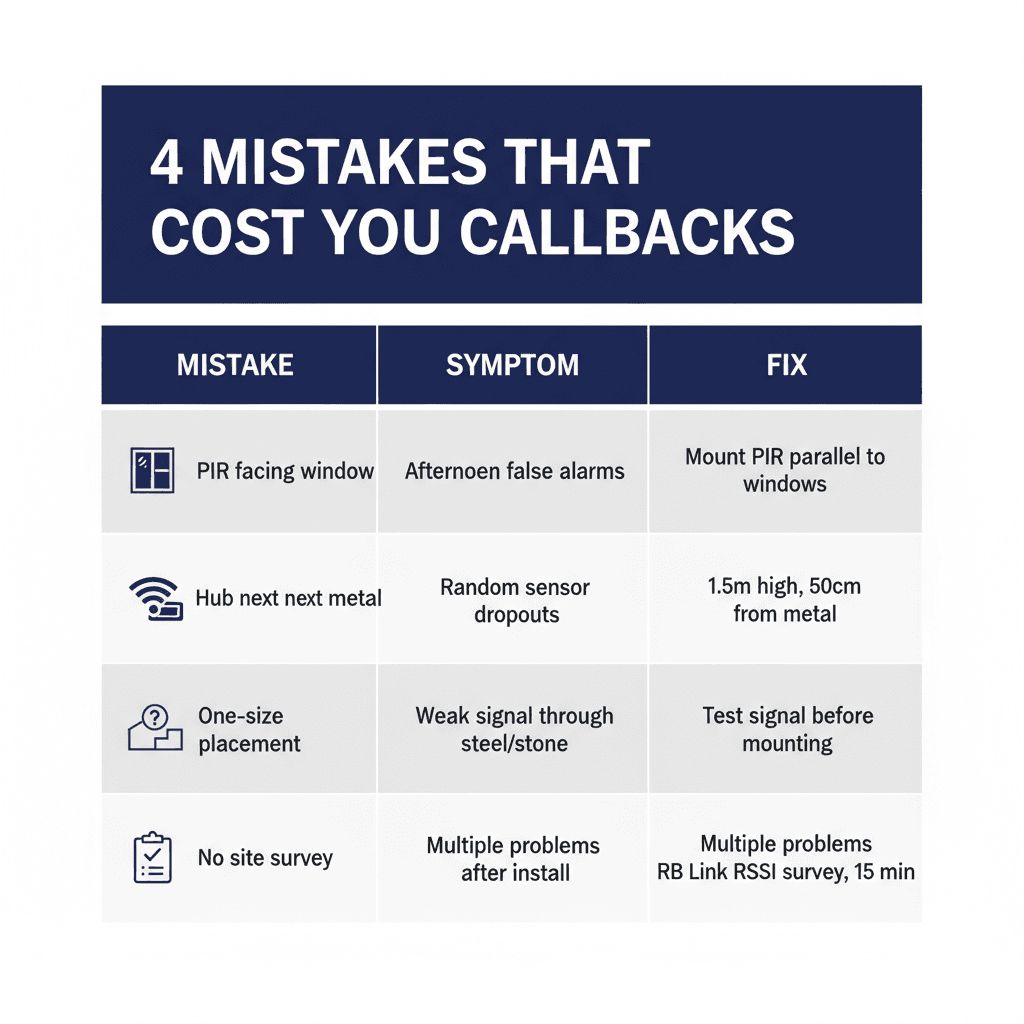
| Mistake | Symptom | Fix |
|---|---|---|
| PIR facing window | Afternoon false alarms | Mount PIR parallel to windows |
| Hub next to metal | Random sensor dropouts | 1.5 m high, 50 cm from metal |
| One-size placement | Weak signal behind steel/stone | Test signal before mounting |
| No site survey | Multiple problems after install | Use RB Link RSSI survey, 15 min |
A callback costs you time, fuel, and reputation. Each of these four mistakes is preventable with a small adjustment to installation workflow — and the Roombanker RB Link app gives you the tools to catch them before they become problems.
Get the full installation guide — request it from your regional distributor, with step-by-step setup instructions, placement diagrams, and signal troubleshooting workflows. Or book a demo installation to see Roombanker deployed in a Mediterranean building near you.